Parsec workspaces
In Parsec, your data is securely stored within workspaces.
You can import your data into a Parsec workspace and manage your files and directories as you will do with a regular file explorer.
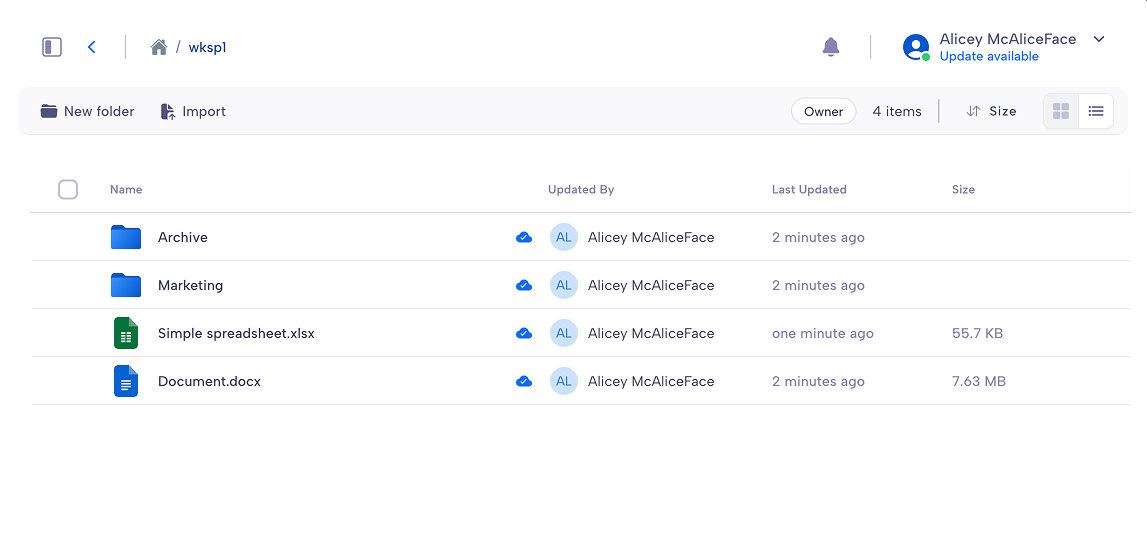
Workspaces are mounted by default in your system and will also appear in the file explorer as regular folders. This is convenient to copy files from and to Parsec.
Each workspace has its own role-based policy for read and write access. This allows a fine-grained access control as each user can have different roles in different workspaces.
Note
When you are offline, you can still access documents provided they were synchronized by Parsec while connected. Synchronization will occur automatically as soon as the connection with the server is established.
Create a workspace
You can create a workspace by clicking New workspace and entering a name for
the workspace.
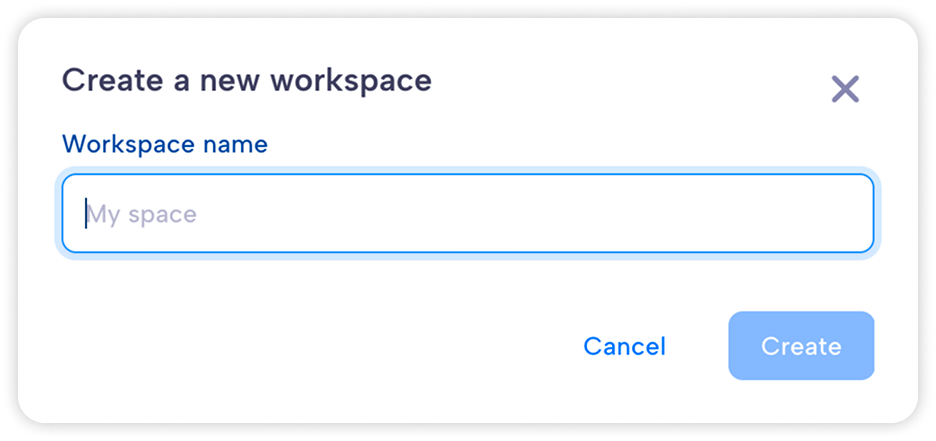
When you create a workspace, you automatically get the Owner role within the workspace.
Share a workspace
If you have the Owner or Manager role, the Sharing and roles option
will be available from the workspace menu.
Find the user you want to share the workspace with and select its workspace roles.
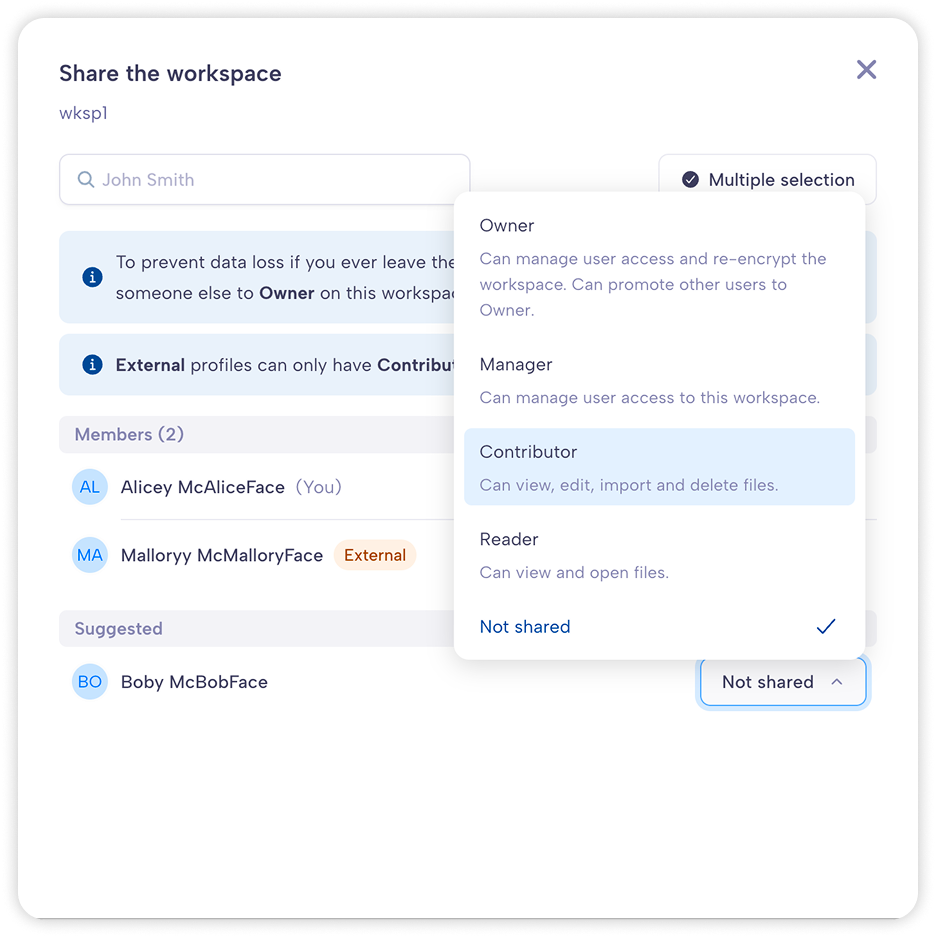
Depending on the user profile within the organization, some roles may not be available for the selected user.
You can remove access to this workspace by selecting Not shared for a given
user.
Workspace roles
The workspace role defines what the user is allowed to do within the workspace. Since the role is specific to the workspace, a user can have different roles in different workspaces.
The available roles and what they allow to do are shown in the following table.
User rights |
Reader |
Contributor |
Manager |
Owner |
|---|---|---|---|---|
Can view and open files |
✅ |
✅ |
✅ |
✅ |
Can edit, import and delete files |
❌ |
✅ |
✅ |
✅ |
Can manage user access to the workspace |
❌ |
❌ |
✅ |
✅ |
Can re-encrypt the workspace |
❌ |
❌ |
❌ |
✅ |
Can promote other users to Owner |
❌ |
❌ |
❌ |
✅ |
Users without a role in the workspace, are not allowed to access nor see the workspace.
Warning
It is recommended to always share the workspace with other users.
Strong cryptographic security prevents data recovery. If the workspace is not shared with others, and the user loses access to its device or cannot log in for any reason, data stored in the workspace will be lost forever.
Copy user roles to another user
You can assign the same roles to multiple users by copying roles from one user to another.
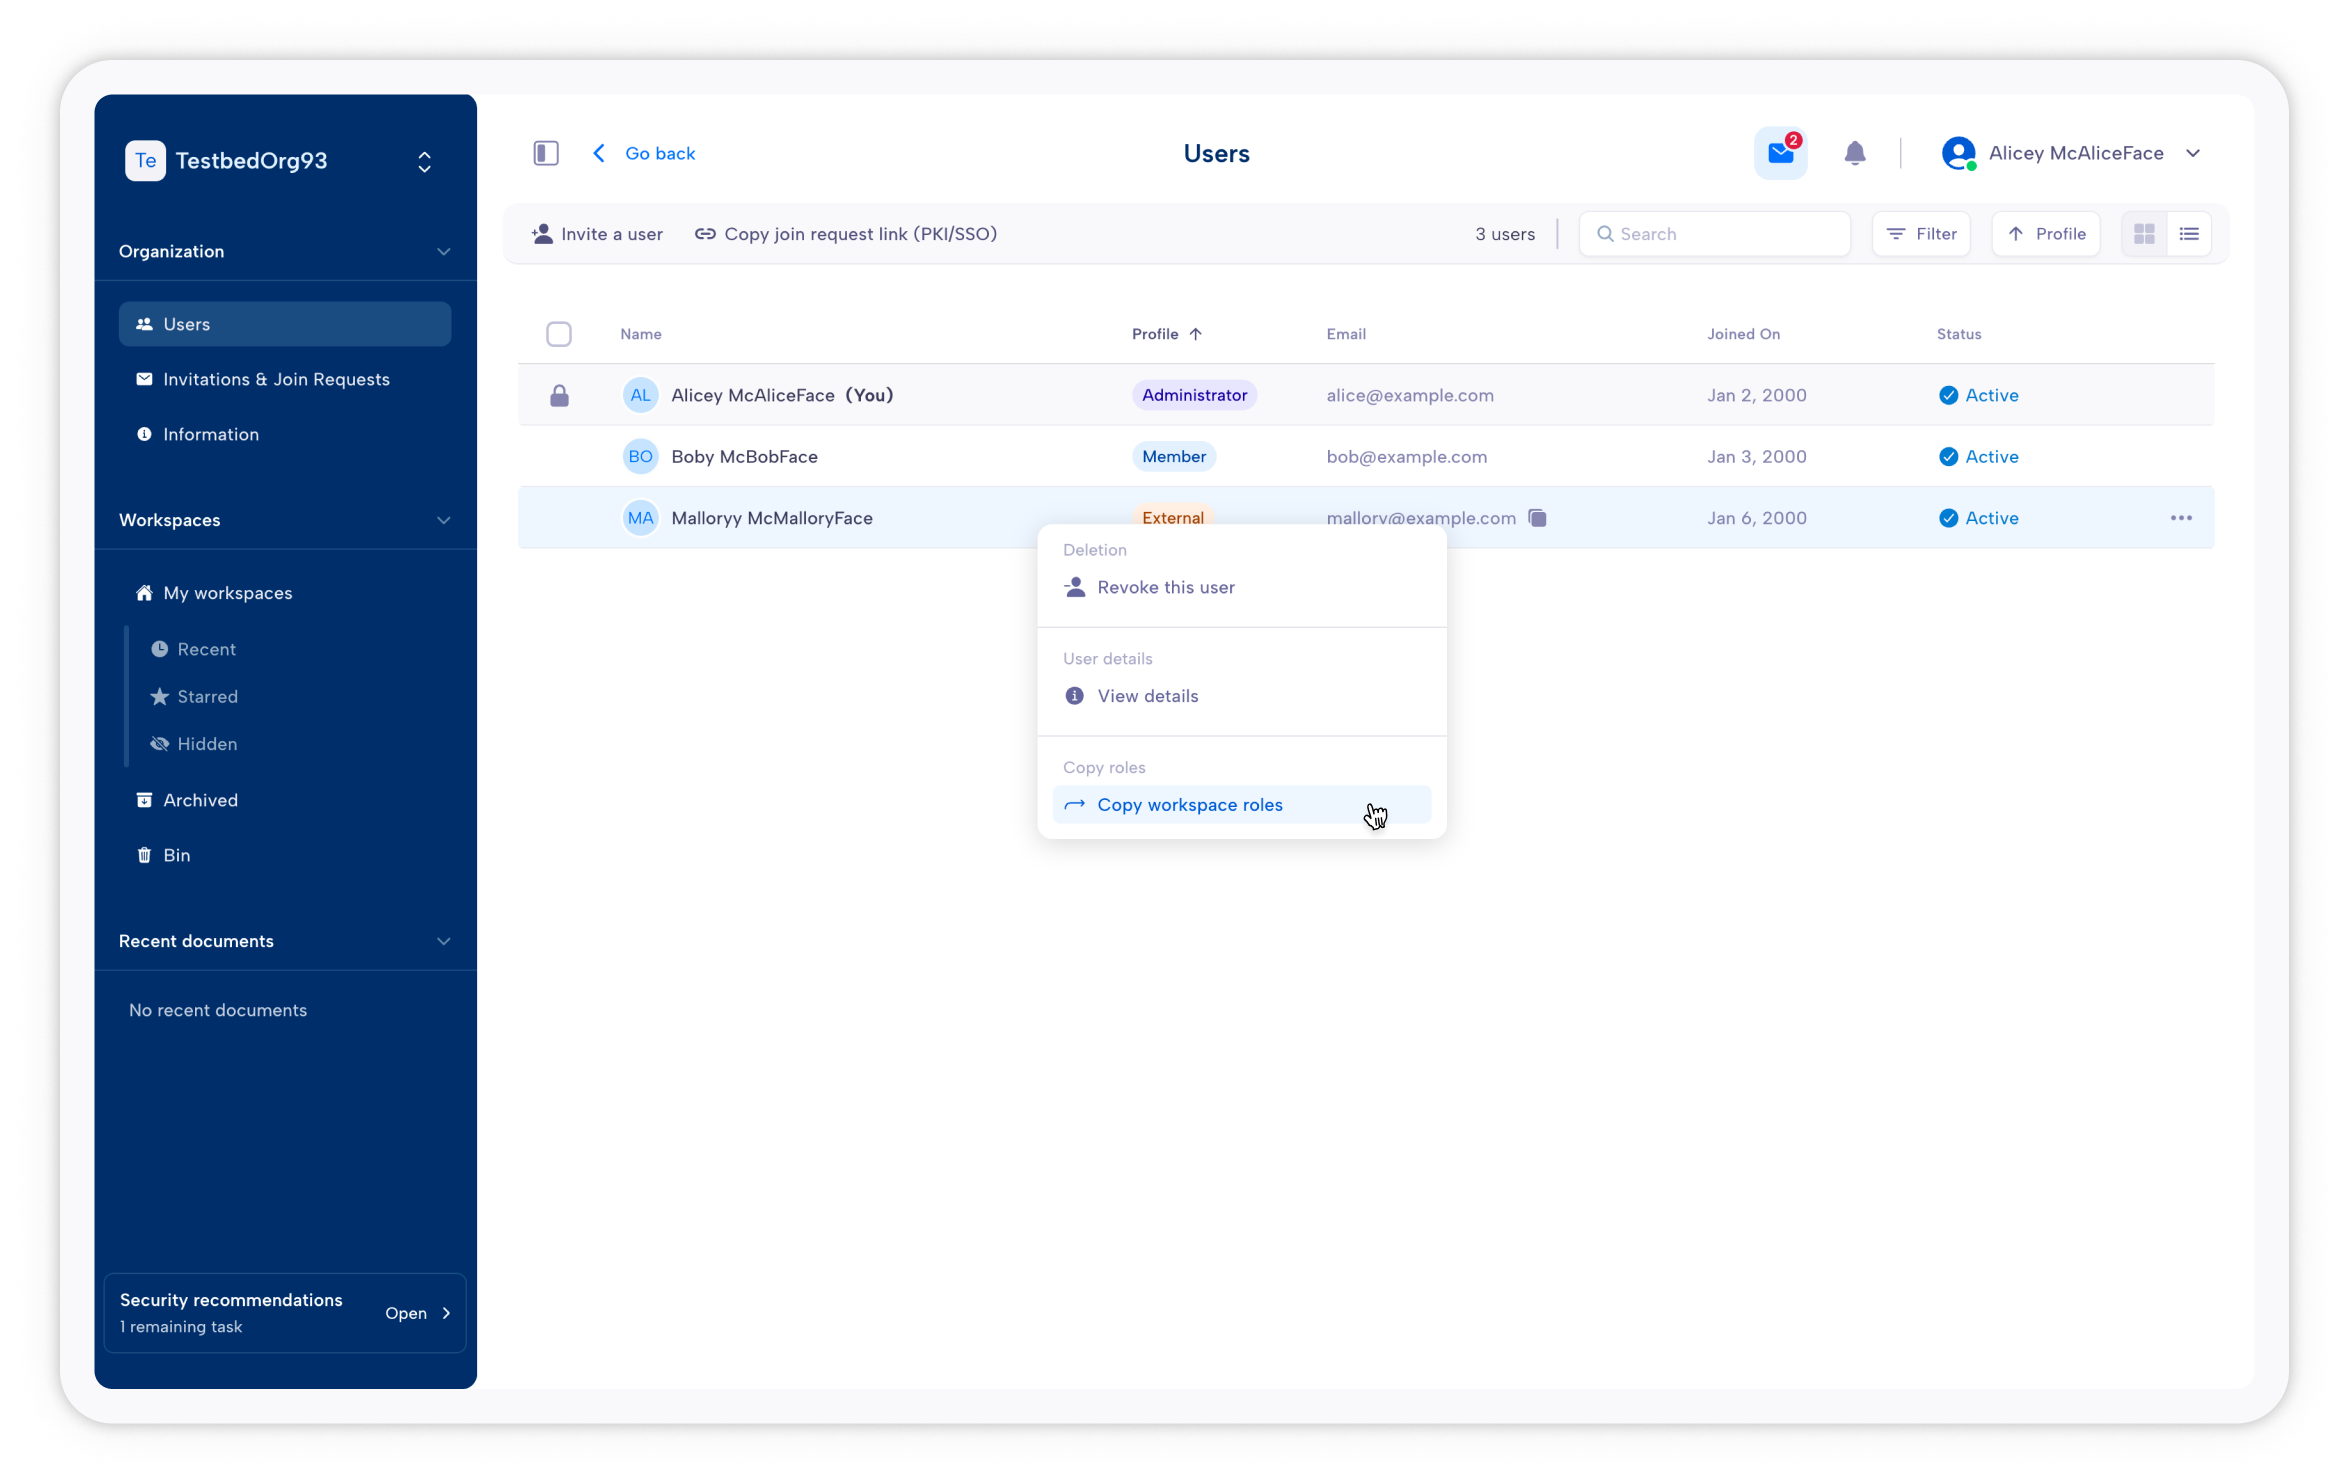
As an example, Mallory is an intern in your company with whom you have shared 4 workspaces: 2 as a Reader, 2 as a Contributor. Bob is a newly hired intern, and you want to share the same workspaces (and roles) you shared with Mallory. Instead of sharing each workspace one by one, go to User (in the sidebar) in the top left corner and access the list of users. Right-click on Mallory, and select Copy workspace roles to....
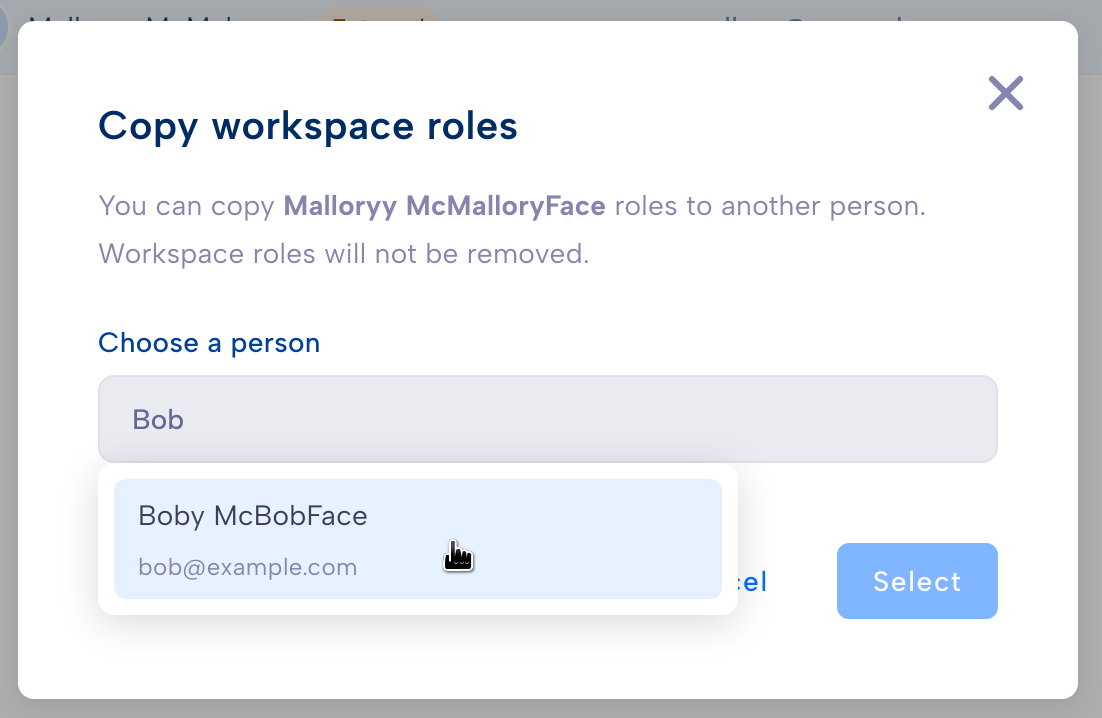
A dialog opens, asking you to select the target user to copy the roles to. Simply start typing its name or email address, and select the desired user.
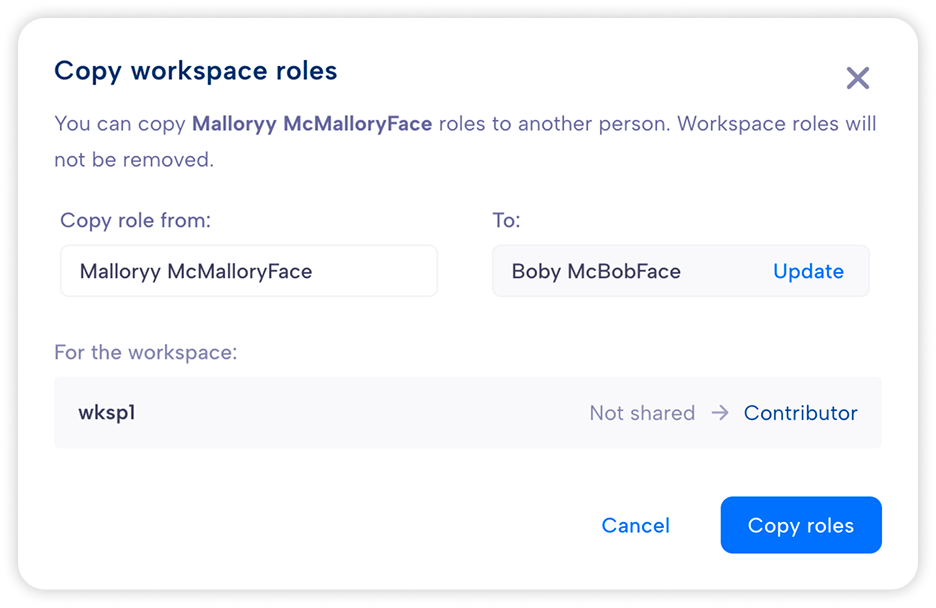
Parsec displays the list of role changes that will be applied to the selected user. If satisfied with the changes, click on Copy roles.
A few things to note:
A user with an External profile cannot be have the Manager or Owner role in a workspace.
If the target user already has a higher role on the workspace, it will not be changed.
It will not change the roles the target user may have on other workspaces that are not shared with the source user.
Only workspaces both you and the source have access to will be changed.
Only the workspaces where you are either Manager or Owner will be considered.
Browse workspace history and restore files
Parsec allows you to browse a workspace at a given time, showing you all the files as they were.
You will need to have the Owner or Manager roles on the workspace.
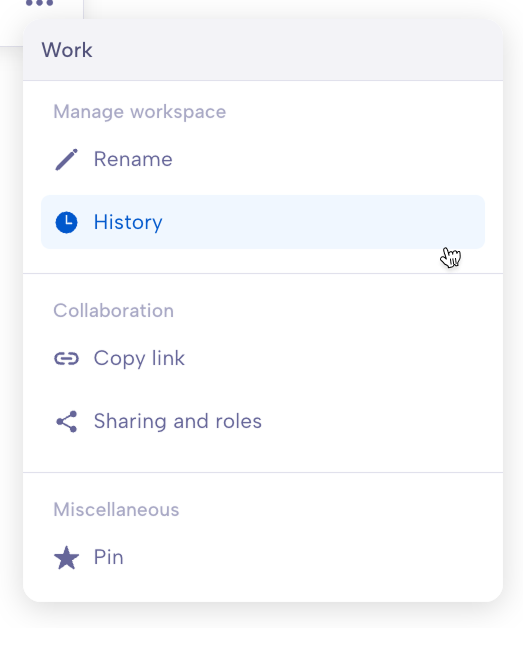
The History option is available in the workspace context menu.
Once you enter the History mode, you can navigate inside the workspace as you normally would.
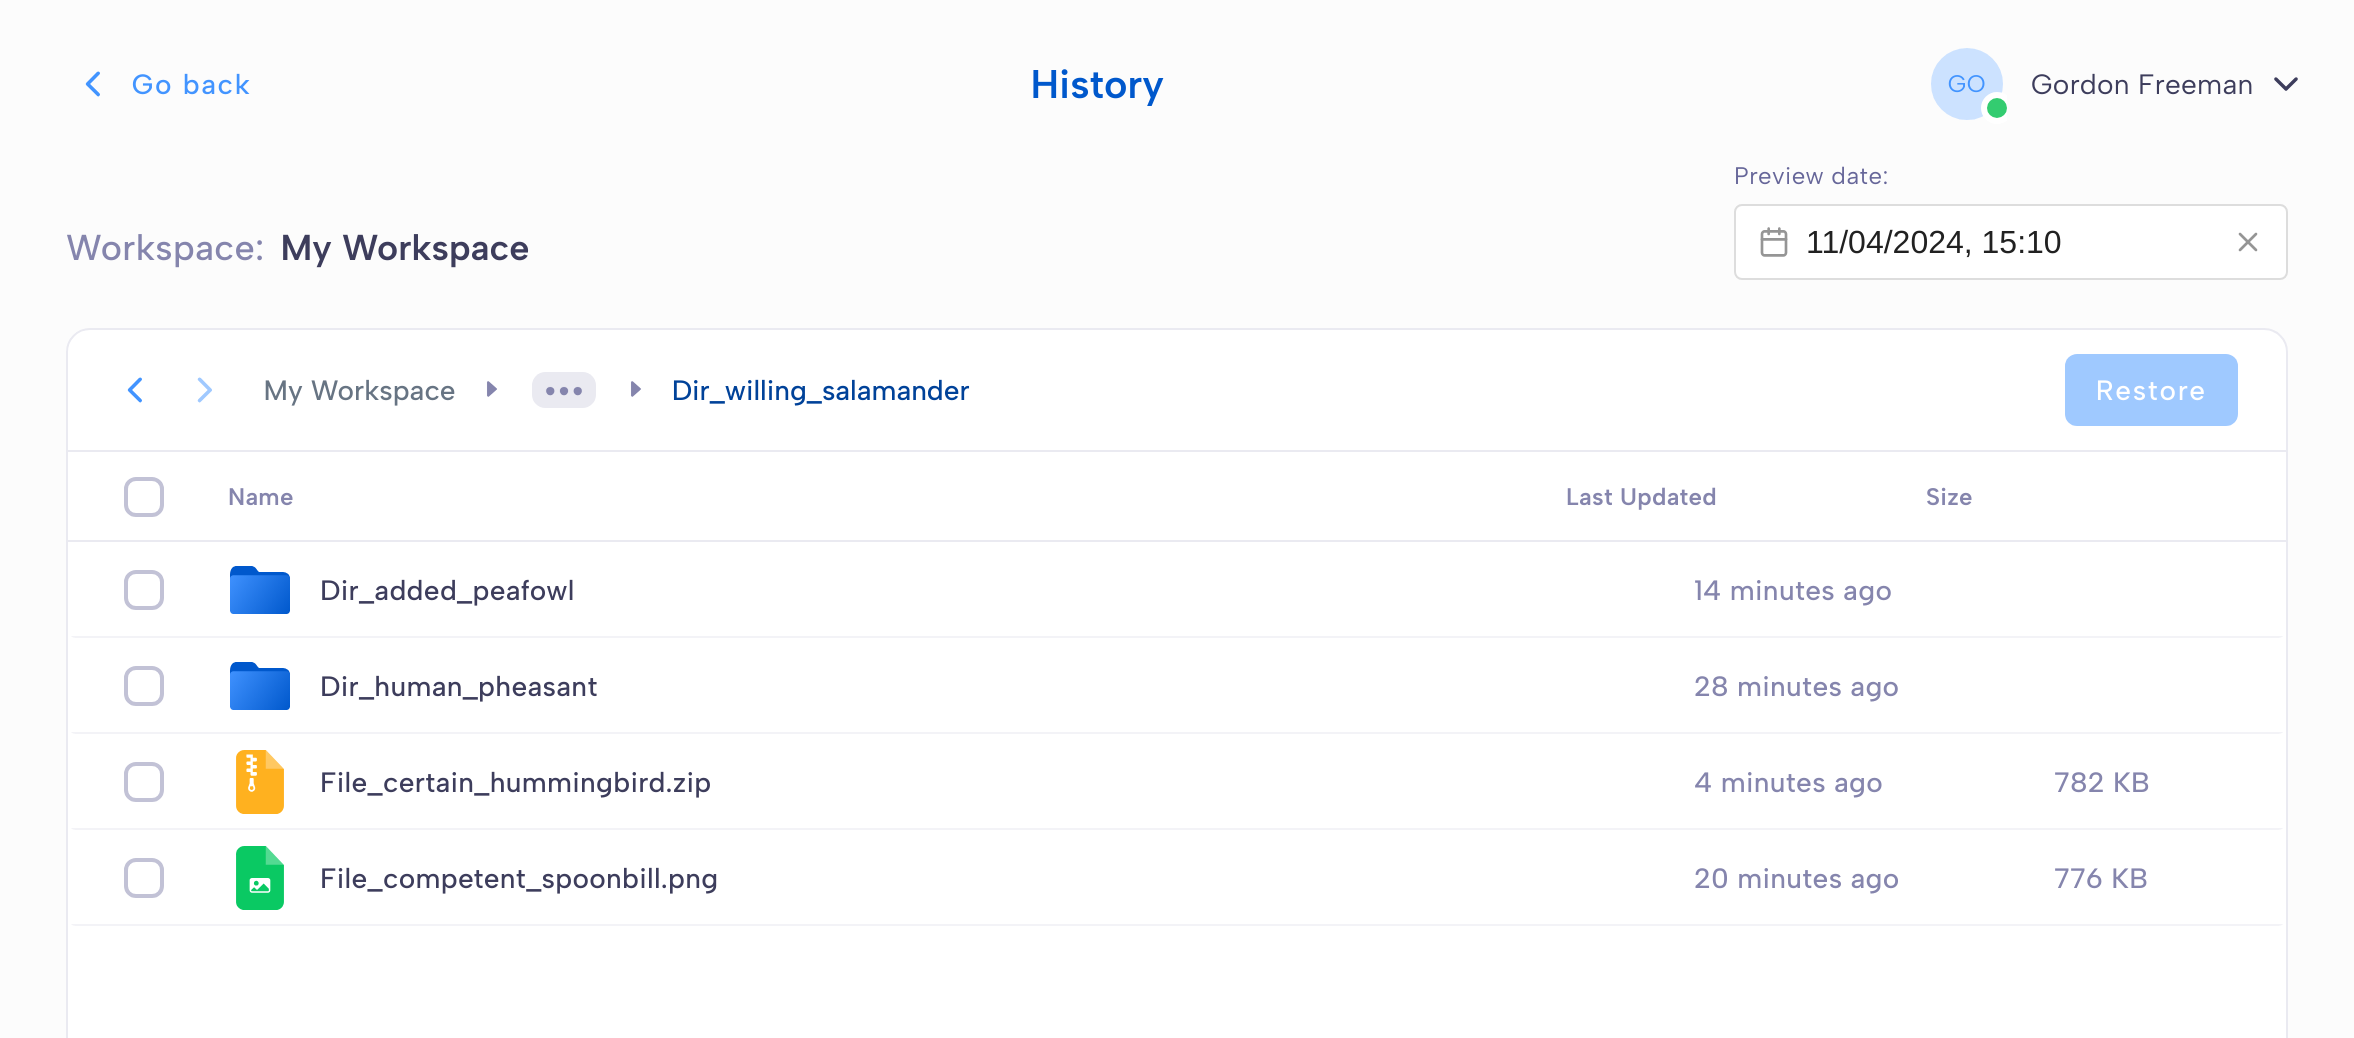
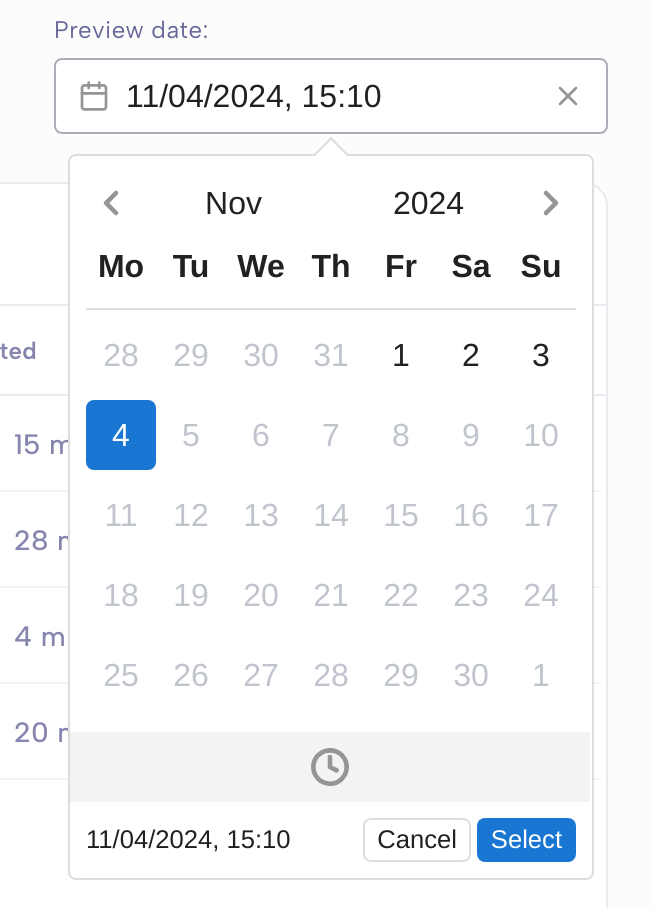
If you change the date or time, files and folders will be automatically updated to reflect the state of the workspace at this moment. You can only select a time between the workspace’s creation date and the current date.
If you want to restore a file or a folder, select it and click Restore. This will replace the current version of the file with the version from the selected date and time.

Note
If you make a mistake, don’t worry, the file history is incremental and therefore it is never deleted!
Let’s take an example with a file named File.txt whose content has been updated as follows:
On April 1st, Creation of the file with the content AAA. This is version 1.
On April 5th, Update of the file with the content BBB (replacing the previous content). This is version 2.
On April 7th, Update of the file with the content CCC (replacing the previous content). This is version 3.
If you look at this workspace history on April 6th, the content of the file will be BBB. Should you chose to restore this version, the content of File.txt (CCC currently) will be replaced by BBB. This will be version 4, which means that version 3 has not been deleted, and if you later change your mind, you will still be able to restore it.
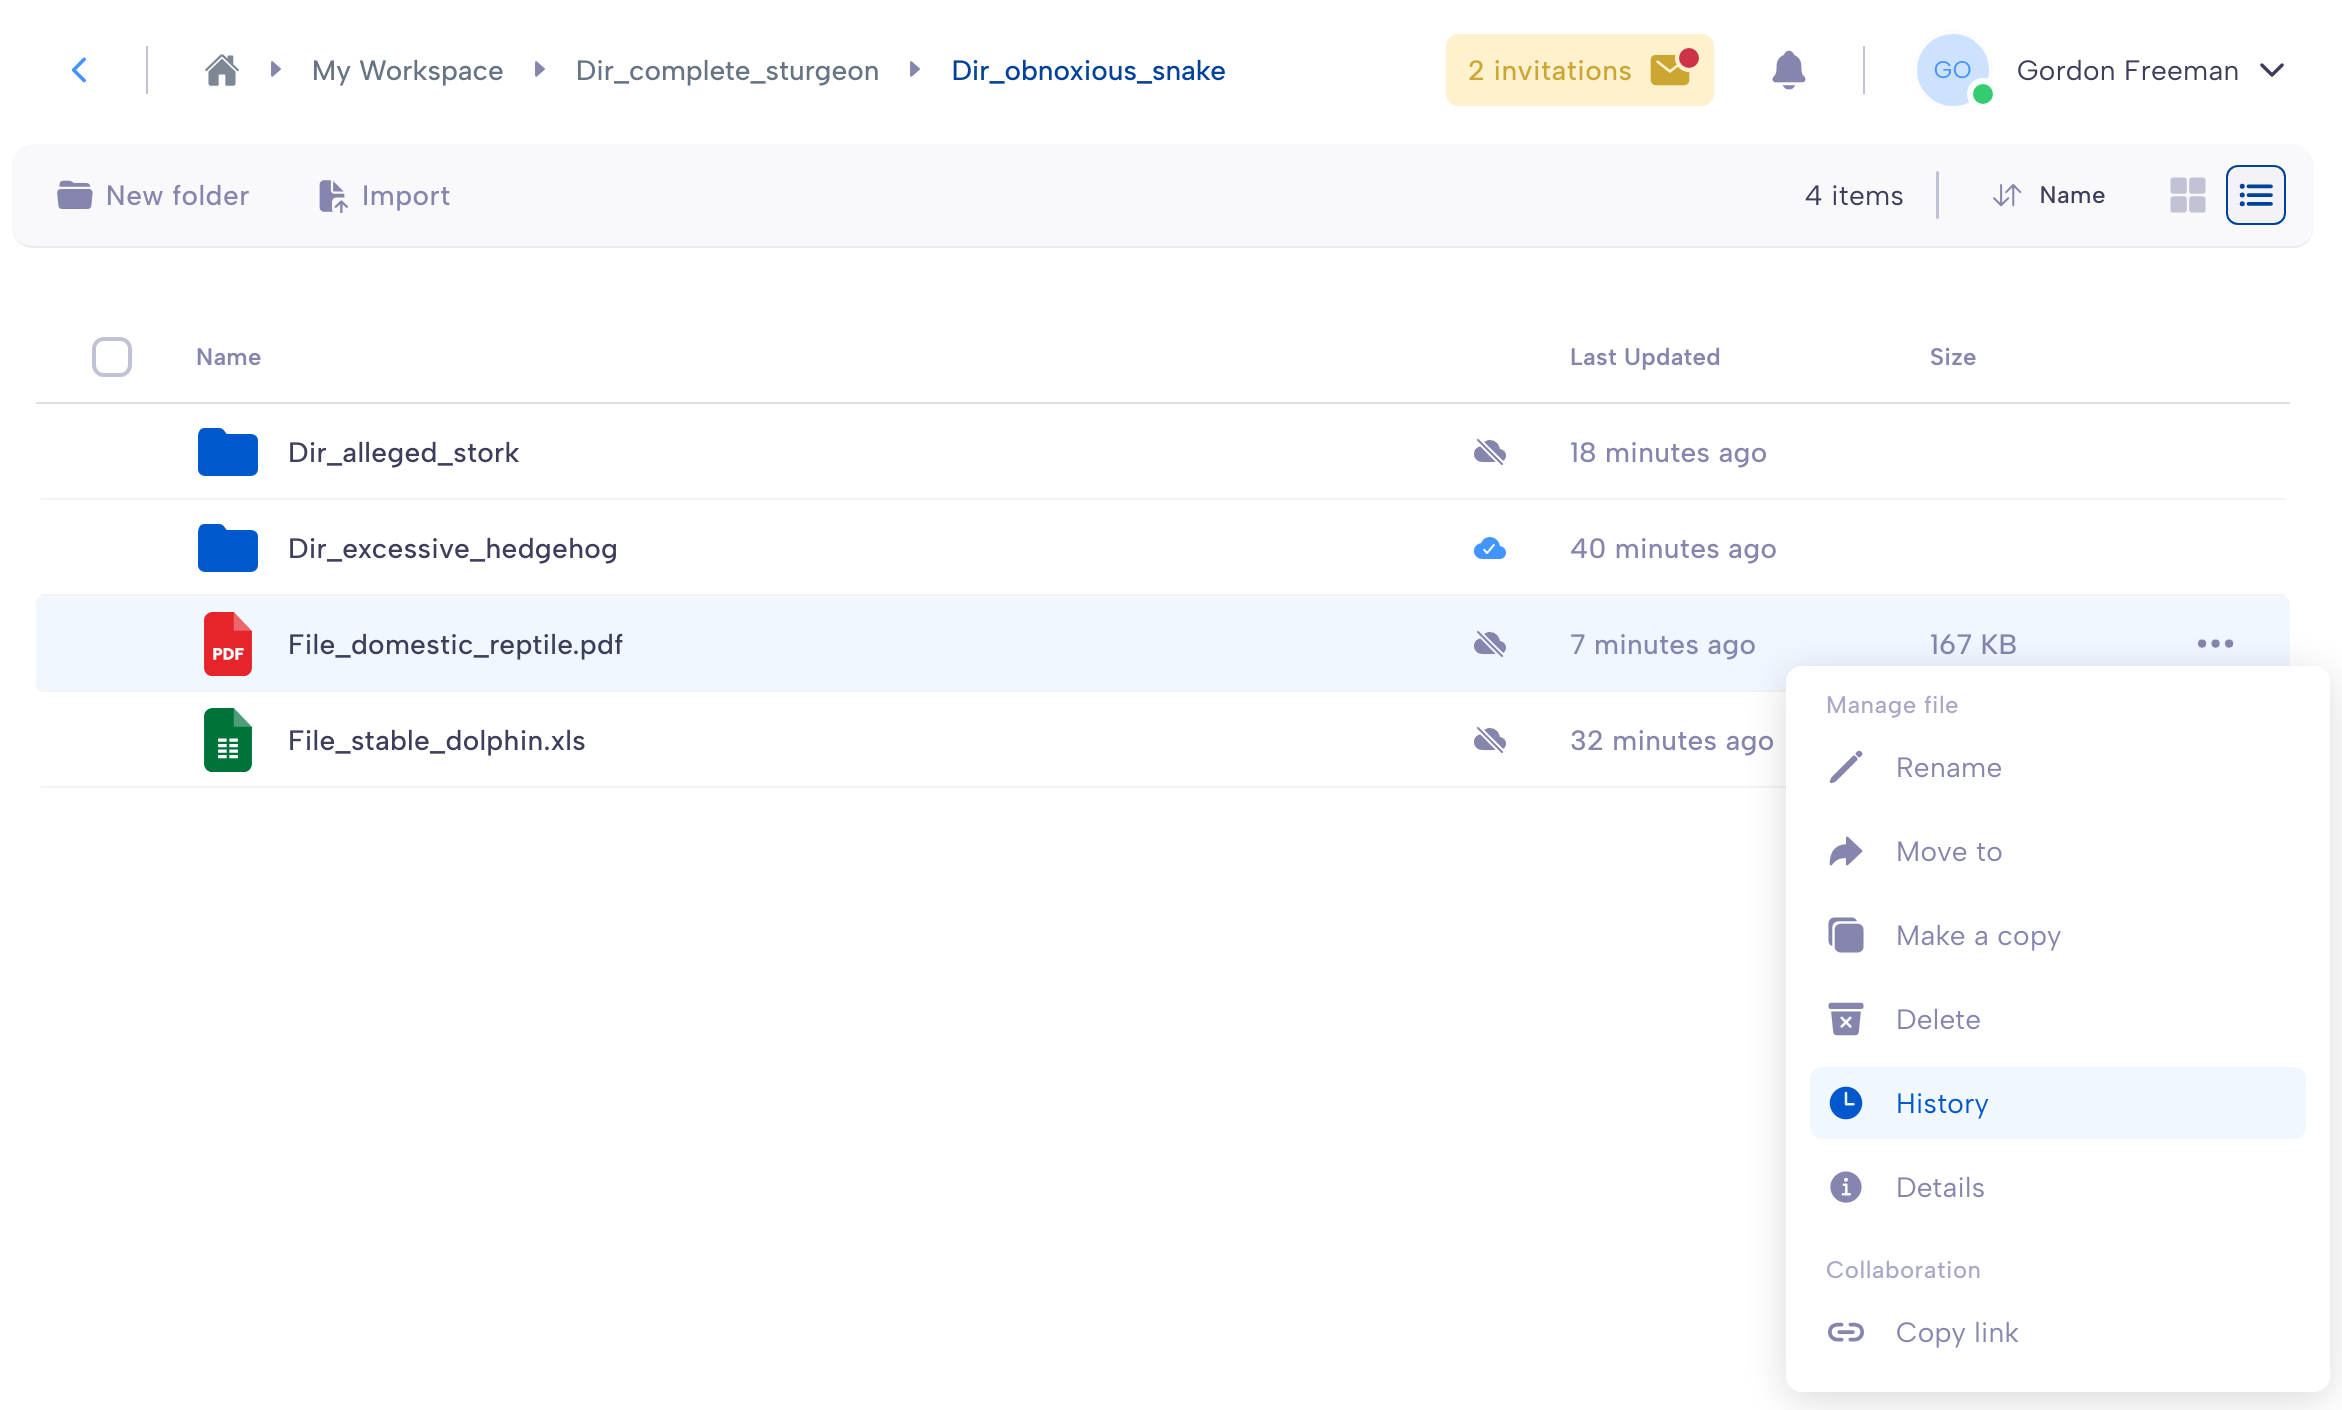
You can also explore the workspace history from a specific file. This will open the history page directly where the file is stored.
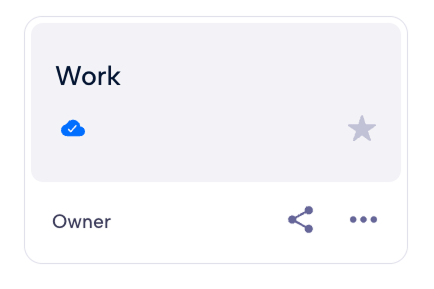
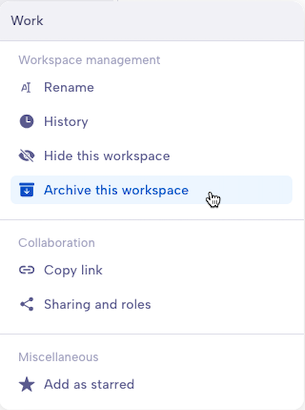
Archive a workspace
A workspace can be Archived by one of its Owners by selecting the corresponding button on its contextual menu.
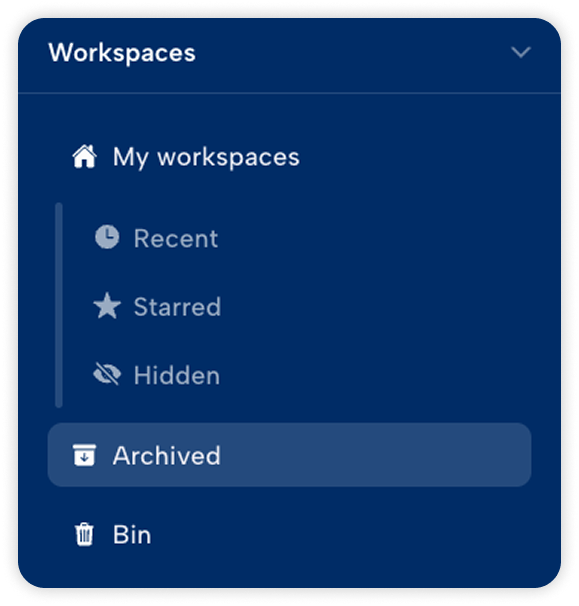
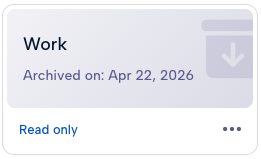
An archived workspace is set to read-only for all users it has been shared with, regardless of their roles. Archived workspaces can be consulted in the Archived section accessible from the sidebar. The workspace history can be accessed in read-only as well.
The archiving date can be seen on the corresponding workspace card. It can be browsed normally as any standard workspace.
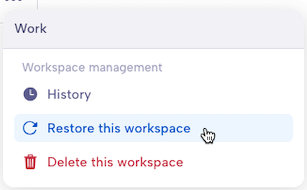
Archived workspace Owners can restore them from the workspace contextual menu to revert the operation and restore write operations on the workspace.
Delete a workspace
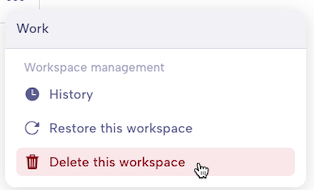
An archived workspace Owner can set it to be deleted by selecting the corresponding button on its contextual menu.
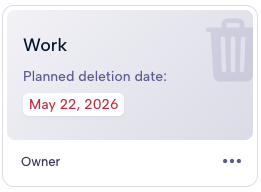
Once set to deletion, a workspace will be stored to the Bin accessible from the sidebar. It will remain in this state for a set amount of time, determined by the server.
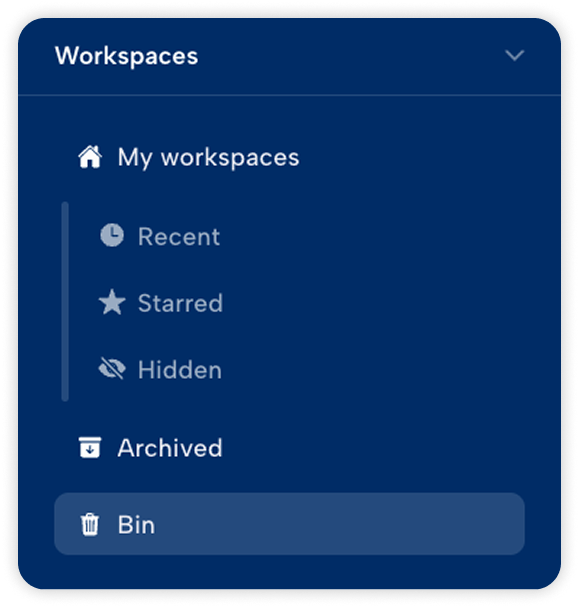
Until this date, users who had access to it can consult its content in read-only as well as its history in read-only.
|
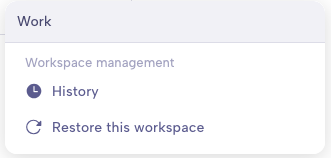
|
Owners of workspaces set to be deleted can restore them before the deletion date from the workspace contextual menu to cancel the operation.