Manage your organization
Now that our organization is ready, we can start inviting new users.
In Parsec, inviting a new user to join your organization is a critical operation that aims at building trust towards the user and the device that will be used to connect to Parsec.
The process requires both the guest (the invited user) and the host (you) to be connected to the Parsec server at the same time.
Invite a user
Parsec provides two ways to invite users:
Invite by email address: the user will receive an email with a link to join your organization. Both you and the user have to be available at the same time and go through the process together in order to verify the user’s identity.
Invite by join request: the user will request to join the organization using a generic link. The user identity is verified with an external identity provider. You can then accept or reject the request at any time.
Important
An identity provider is required to use this option. Those currently supported are:
a Public Key Infrastructure (PKI). Supported only on Windows.
a Single-Sign On (SSO) provider. Only ProConnect is supported at the moment.
Invite a user by email address
In the sidebar, go to
UsersClick
Invite a userand enter an email address to send the invitation link
A blue button will appear at the top, informing you that you have an invitation waiting to be validated.
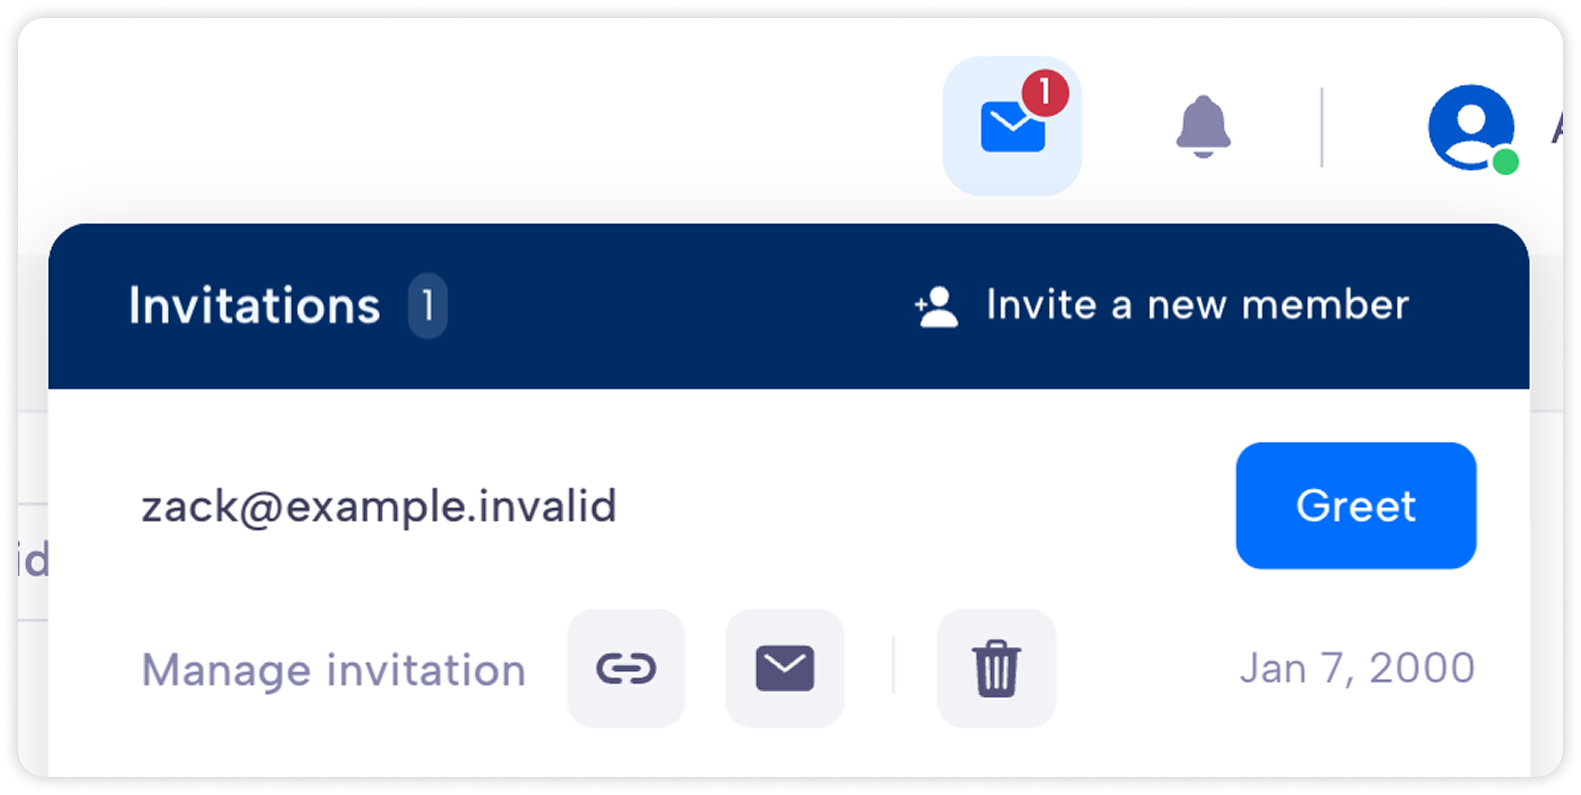
Ask the user to open the invitation link and follow the steps to start the invitation process.
Click on
Greetand wait for the guest to proceed to verify your identity with a code exchange.Confirm the user details and set the user profile.
The user can now login to your organization.
Invite a user by join request
In the sidebar, go to
Invitations & Join Requestsand thenJoin requests (PKI/SSO)Click
Copy join request link (PKI/SSO)and share the link with the users. Note that this link is not specific to a single user, you can share it with anyone wanting to join your organization.Ask the user to open the link and follow the steps to request to join the organization.
A pending join request will appear in the list. Click
Acceptto accept the request to join your organization orRejectto discard it.If you accepted the request, confirm the user details and set the user profile.
The user can now login to your organization.
Revoke a user
Revoking a user will remove its access rights to the organization. This is specially required when:
the user device has been compromised or lost
the user is no longer part of the organization
In the sidebar, go to
UsersSelect
Revoke this user.Click
Revoketo confirm (this action cannot be undone)
Caution
Revocation is irreversible. If the revoked user needs to re-join the organization, it will need to go through the standard procedure to join an organization
Note
It is not possible to revoke a single user device. If one of the user’s devices has been compromised, the user and all its devices need to be revoked. This is intended because the compromised device has the knowledge of some cryptographic secrets shared among all the user’s devices.
User profiles
The user profiles defines what the user is allowed to do within the organization.
External profile
This profile allows a user to:
Collaborate in workspaces
Note
Users with the External profile are not allowed to see the name and email of other users within the organization.
Member profile
This profile allows a user to:
Collaborate in workspaces.
Create and share workspaces.
See the name and email of other users within the organization.
Administrator profile
This profile allows a user to:
Collaborate in workspaces.
Create and share workspaces.
See the name and email of other users within the organization.
Invite new users to join the organization, and set their profile.
Remove users from the organization, regardless of their profile.
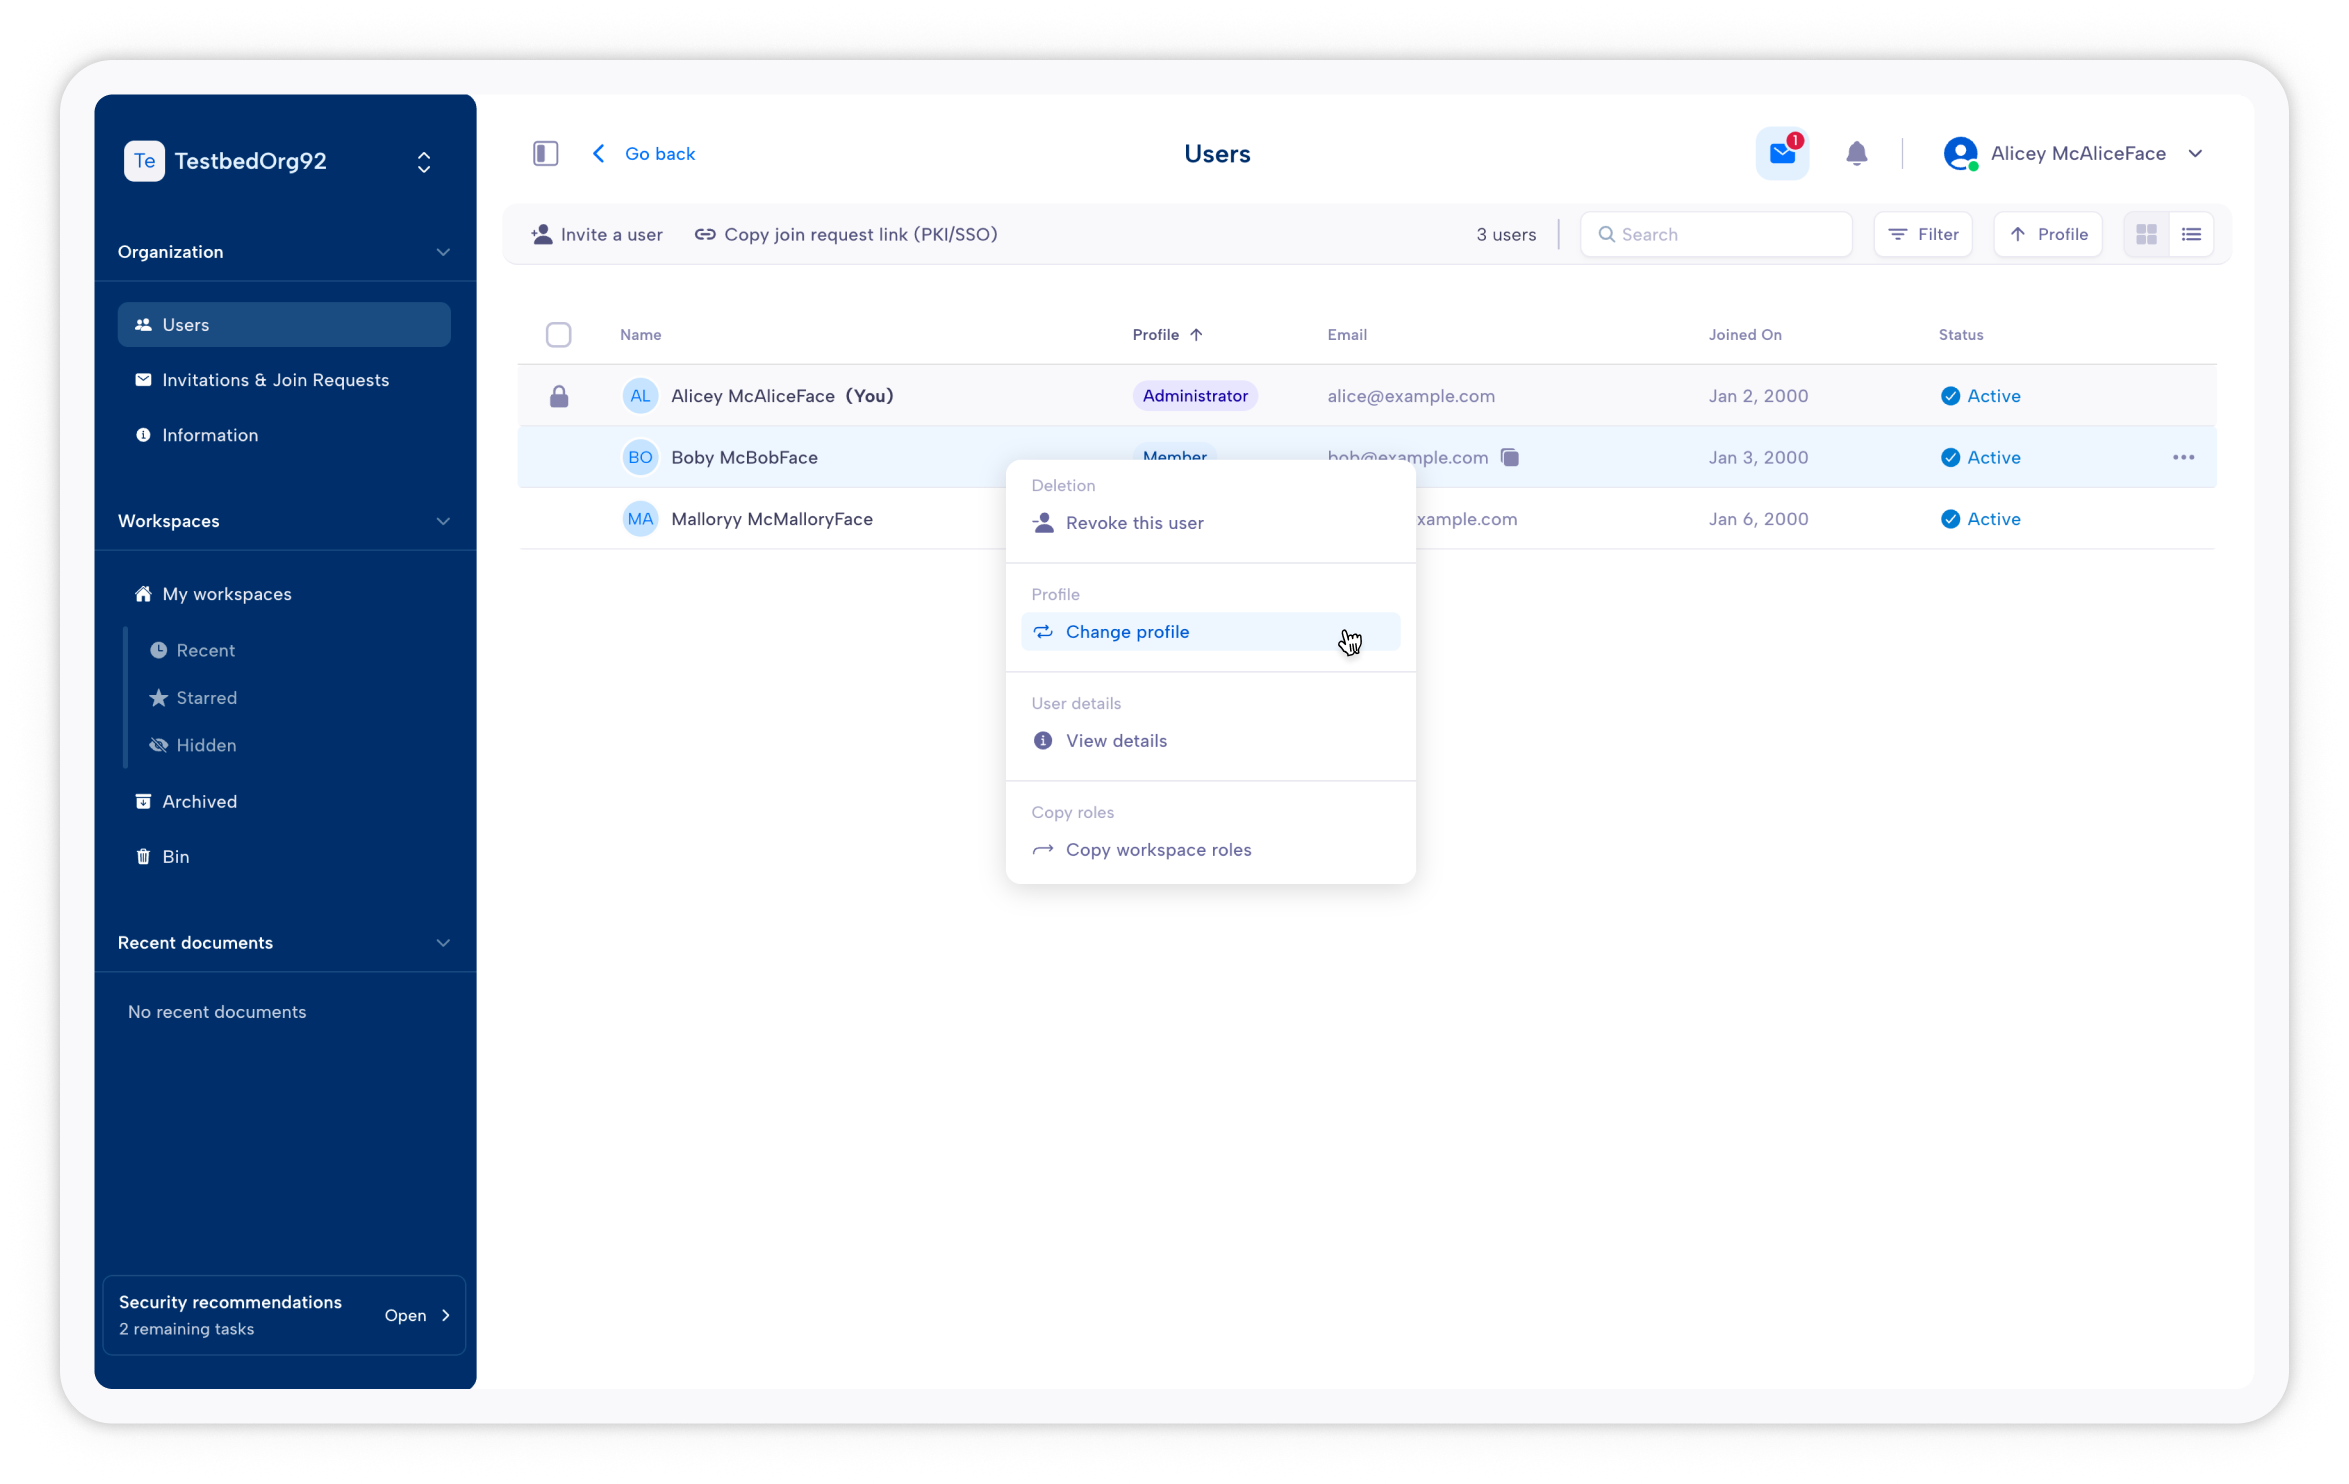
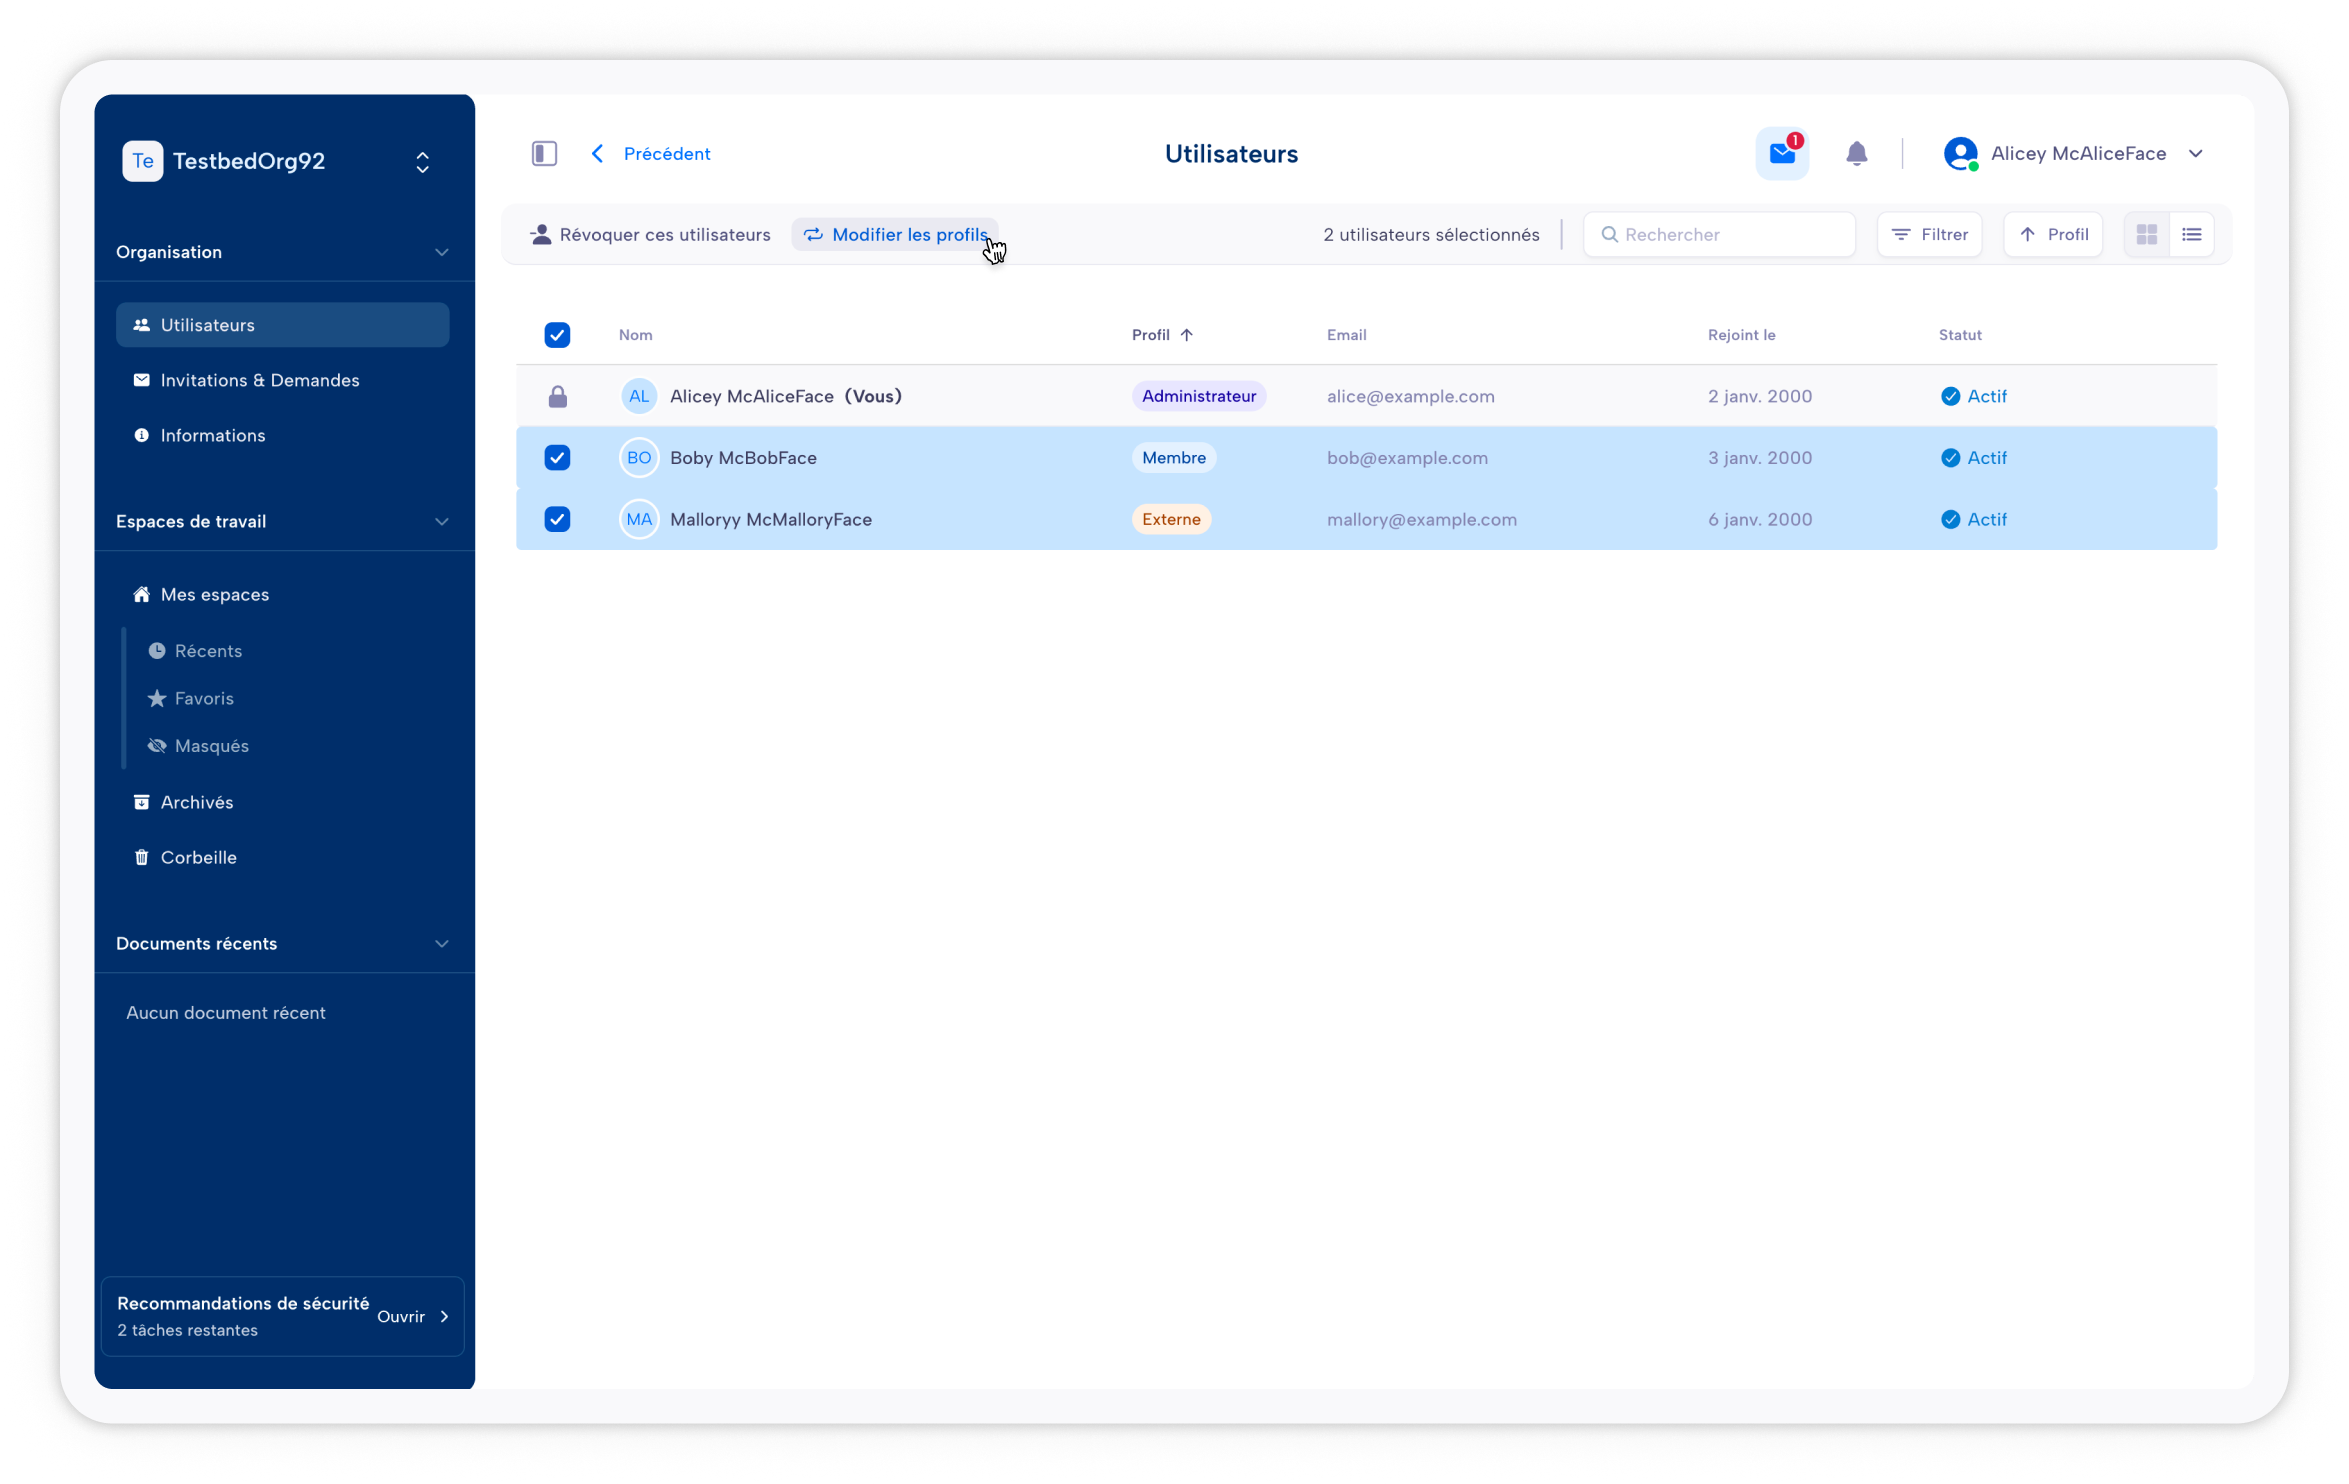
Change the profile
If you need to change the profile of a user, go to Users (in the sidebar) in the upper-left corner. Either select the user or right-click on them and select Change profile.
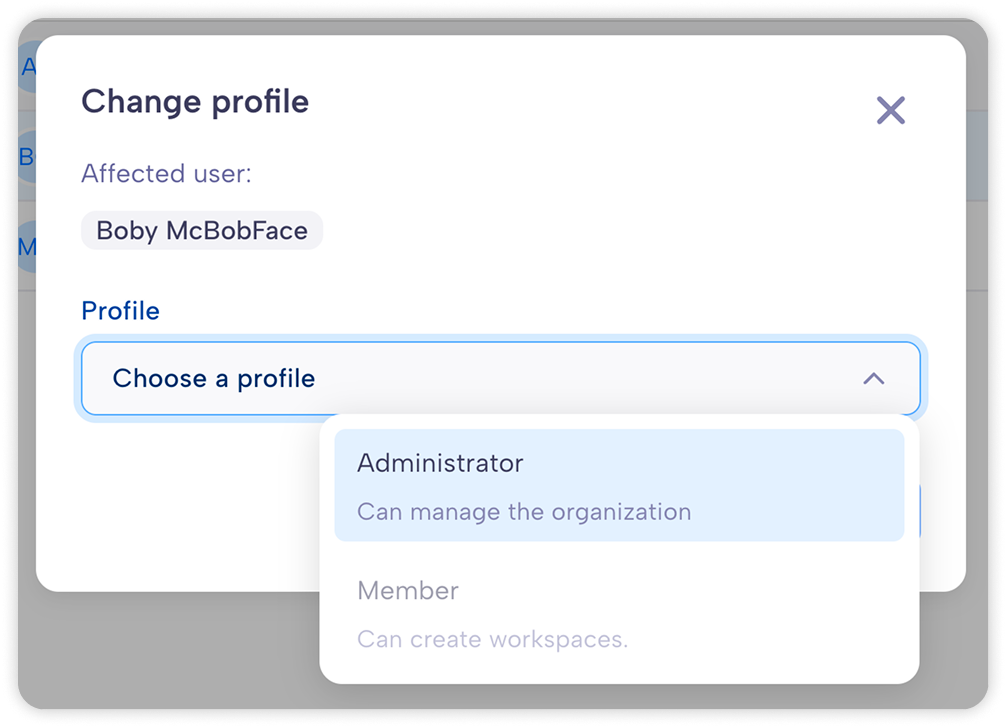
Select the user’s new profile and click on Change.
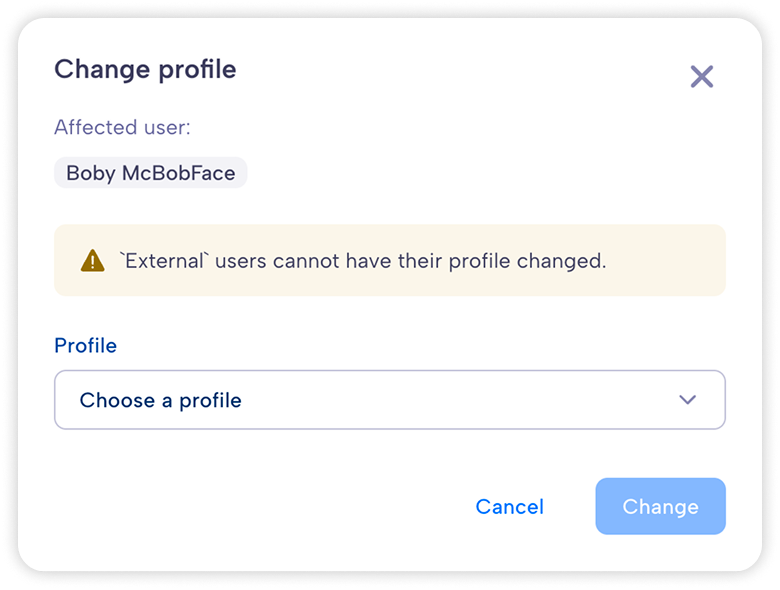
You can change the profiles of multiple users at once by selecting them and clicking on Change profiles.
You cannot change the profile from and to External. If there are users with External profile among the selected users, the dialog will warn you that their profile will not be affected.