Install Parsec
Install Parsec app
Parsec is available for Linux, Mac, and Windows operating systems.
Download the latest stable version of the Windows installer:

Start the
.exeand follow the instructions to install Parsec.
Parsec is available on the Snap Store:
You can install Parsec from the command line:
sudo snap install parsec --classic --channel=v3
If you are familiar with Snap, you may notice that Parsec is provided in classic mode (i.e. without sandbox). This is required because Parsec needs Fuse to mount your data as a virtual directory, which is not allowed by the Snap sandbox.
Warning
On Ubuntu 25.04 and later, a bug may prevent your workspaces from being exposed in the file system (see bug report).
As a workaround, you can run the following command while Parsec is not running:
sudo tee /etc/apparmor.d/local/fusermount3 << 'EOF'
# Allow Parsec packaged as a Snap to communicate with fusermount3 through unix sockets
# see https://bugs.launchpad.net/ubuntu/+source/apparmor/+bug/2139081
unix (send, receive) peer=(label="snap.parsec*.parsec"),
EOF

sudo apparmor_parser -r /etc/apparmor.d/fusermount3
Note
In order to install multiple versions of Parsec, you first need to enable parallel instances:
snap set system experimental.parallel-instances=true
Then, you can install v3.0 (provided you already have v2.17 installed), give it a specific name:
snap install parsec_v3 --classic --channel=v3
Warning
AppImage support is currently in alpha, you are likely to encounter crashes if your Linux distribution differs too much from Ubuntu 24.04.
Download the latest stable version of the AppImage file:
Make the
.AppImagefile executable
Right-click/Properties/Allow executing file as program
Or use the chmod command:
chmod u+x Parsec.AppImage
Run it (double-click on the
.AppImagefile)
Download the latest stable version of the macOS installer:
Start the
.dmginstaller and follow the instructions to install Parsec app.Install macFUSE (see below)
Note
Parsec requires macFUSE in order to provide a smooth integration with macOS and let you access your documents via Finder (macOS file manager).
Install macFUSE
This section describes how to install macFUSE.
Get the latest version from the macFUSE website.
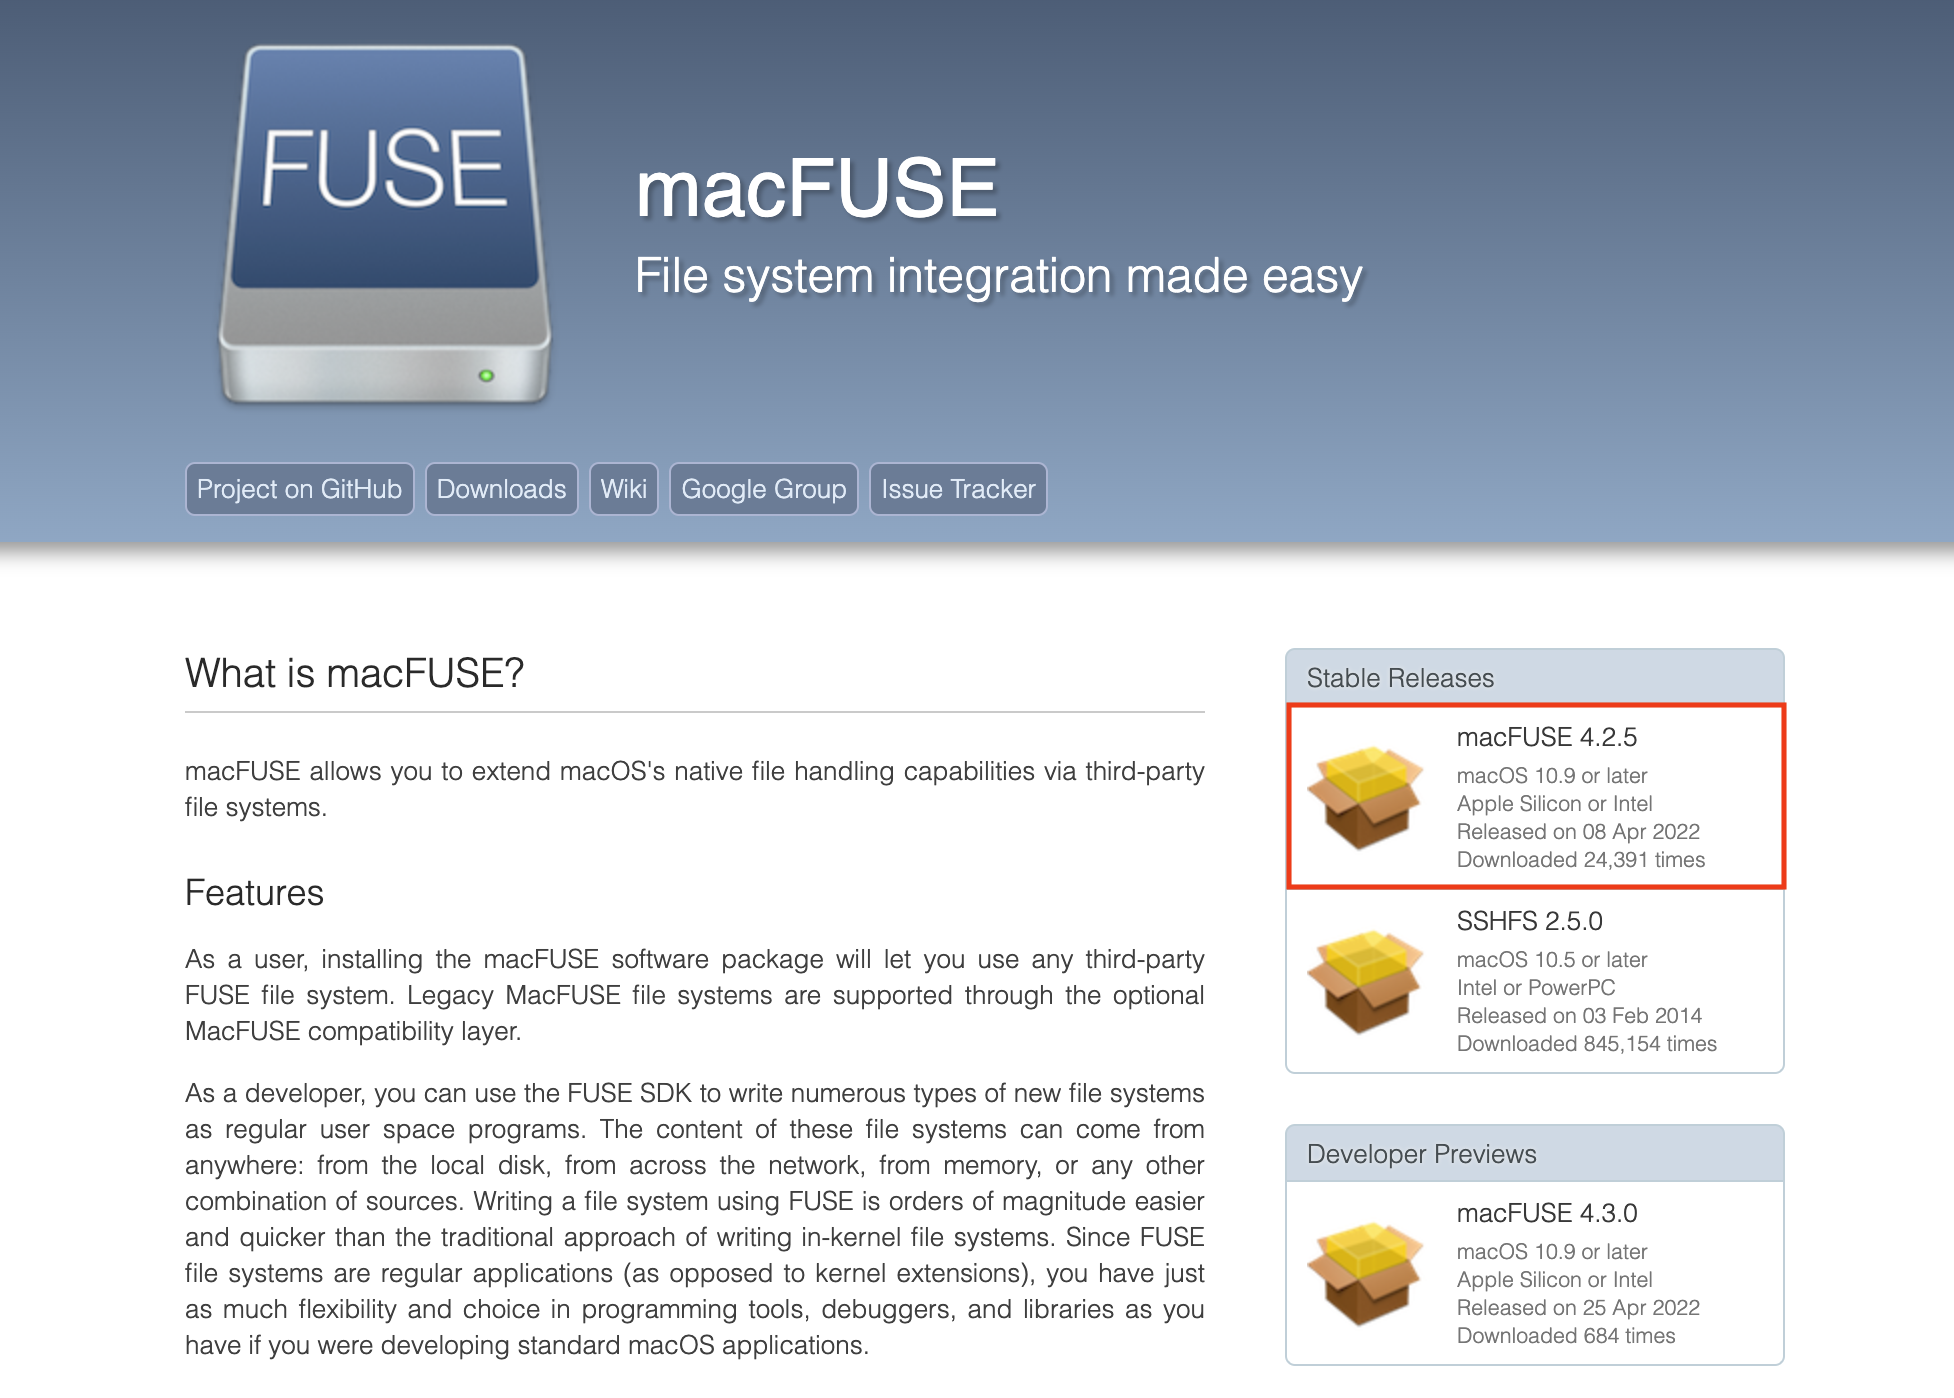
Open the macFUSE
.dmgfile and follow instructions to install.
If you cannot open the
.dmgfile because it was not downloaded from the App Store, head to System Settings > Privacy and Security on your Mac and scroll down to the Security section. You can either check App Store & Known Developers in the Allow applications from dropdown menu to make this installation and further updates smoother, or click Open Anyway for a one-time authorization.At the end of the installation, you will be prompted to approve this extension in System Settings > Privacy and Security. Scroll down to the Security section, and click Allow as illustrated below.

You will then be prompted to restart your Mac to complete the installation. Be mindful that the Parsec app will not function properly until this restart is done.
Update Parsec app
Automatic updates are supported and enabled. When a new version is released, Parsec app updates automatically on startup.
If Parsec app is running, A message is displayed. Simply click on the message to update the application.
Install an older version of Parsec
Warning
For security reasons, you should always install the latest stable version of Parsec as it contains the latest security fixes.
If you need to access older versions, they are available on GitHub.